Learning how to build a PC is easier than most people expect. Modern parts only fit one way, most connections are clearly labelled and the whole job takes an afternoon. Building your own system teaches you how it works, makes upgrades simple and lets you choose every part. This step-by-step guide explains how to build a PC from choosing parts to installing Windows, along with the mistakes to avoid on your first build.
Prefer to skip the screwdriver? Our configurable gaming PC is built, tested and shipped by North Gaming PCs, priced in Canadian dollars with a 2-year warranty.
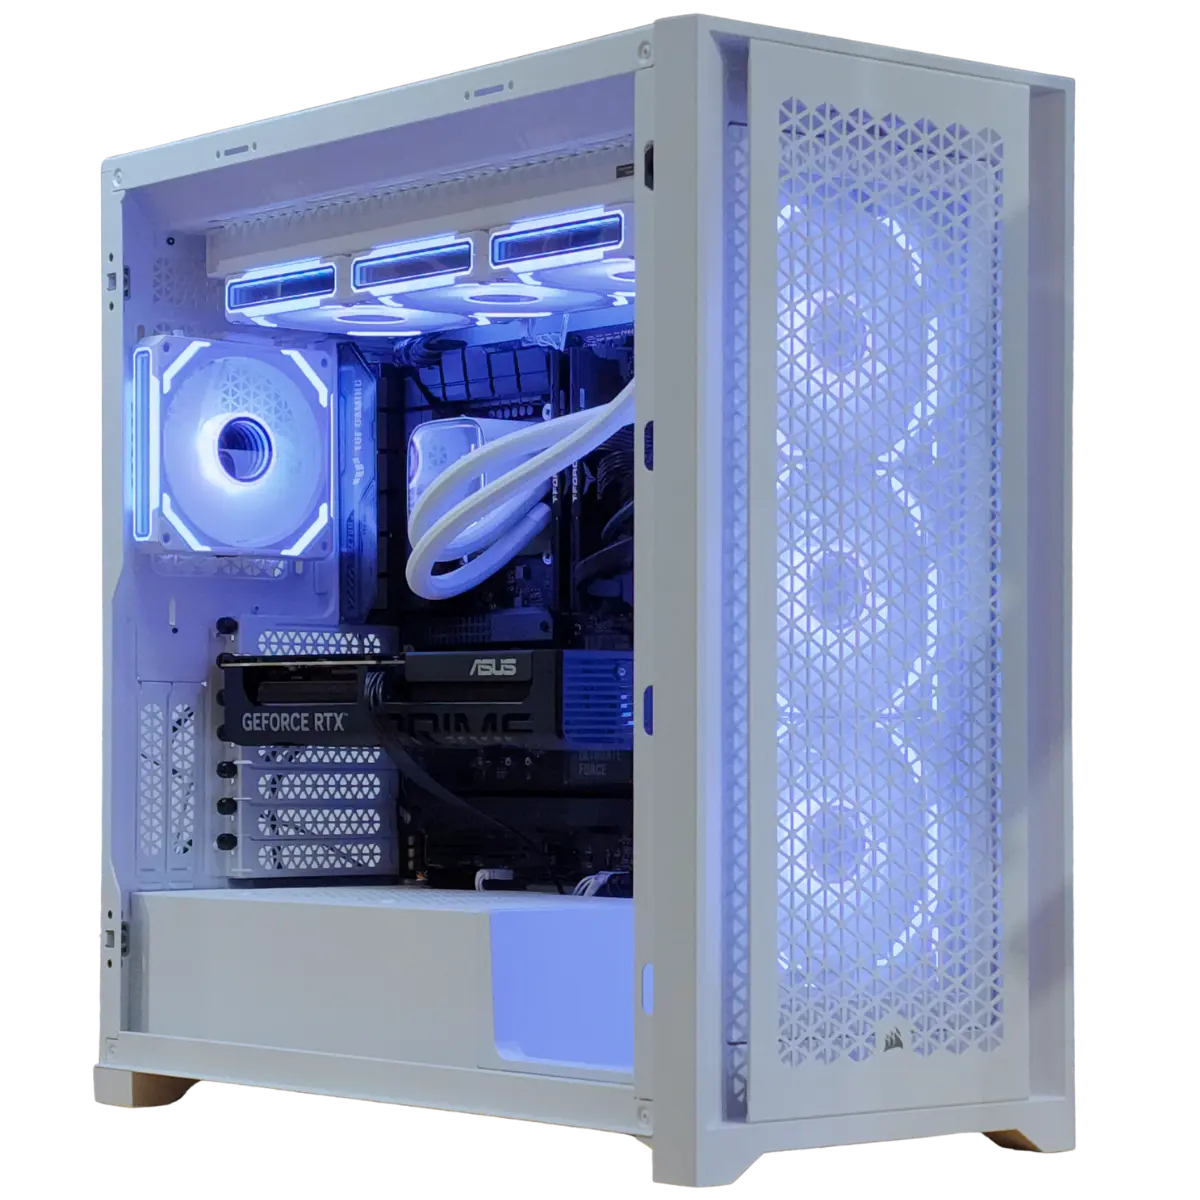
Step 1: choose your parts before you learn how to build a PC
Every gaming PC needs the same core parts:
- Processor (CPU): the brain of the system. See our best CPU for gaming guide.
- Motherboard: must match the processor’s socket, such as AM5 or LGA 1851.
- Memory (RAM): 32GB of DDR5 is the sweet spot for gaming.
- Storage: a 1TB or 2TB NVMe SSD.
- Graphics card (GPU): the most important part for gaming performance.
- Power supply (PSU): a quality unit with enough wattage and the right connectors.
- Case: with good airflow and room for your graphics card and cooler.
- CPU cooler: an air cooler or AIO, unless the processor includes one.
Use a tool such as PCPartPicker to check compatibility before you buy.
Step 2: gather your tools
To learn how to build a PC, you need very little: a Phillips No. 2 screwdriver, a clean table, good light and a small bowl for screws. Zip ties or Velcro straps help with cable management. Touch a bare metal part of the case often to discharge static, and work on a hard surface rather than carpet.
Step 3: prepare the motherboard
Place the motherboard on its box. This is the easiest stage of learning how to build a PC, because everything is within reach.
- Lift the CPU socket lever, align the arrow on the processor with the marker on the socket and lower it gently. Never force it.
- Close the lever to lock the processor in place.
- Install the memory in the slots marked in the manual, usually the second and fourth, pressing until the clips click.
- Install the M.2 SSD in the top slot and secure it with the screw or latch.
Step 4: install the cooler
If your cooler has pre-applied thermal paste, mount it directly. If not, apply a pea-sized dot of paste in the centre of the processor. Fit the mounting brackets, place the cooler and tighten the screws evenly in a cross pattern. Connect the cooler fan to the CPU_FAN header.
Step 5: install the motherboard in the case
This is the step where learning how to build a PC starts to look like a real computer. Fit the rear I/O shield if your board does not have one attached, then lower the motherboard onto the standoffs and secure it with screws. Connect the front panel cables for the power button, USB and audio, following the motherboard manual.
Step 6: install the power supply
Mount the power supply in its bay, fan facing down if the case has a filtered vent below. Connect the 24-pin motherboard cable and the 8-pin CPU power cable at the top of the board. Route cables behind the motherboard tray to keep things tidy.
Step 7: install the graphics card
Every guide on how to build a PC saves the graphics card for late in the process, because it blocks access to other connectors. Remove the expansion slot covers, line the card up with the top PCIe x16 slot and press it in until the latch clicks. Screw it to the case, then connect the power cable. Modern RTX 50 cards use a 16-pin 12V-2×6 cable that must be pushed in fully.
Step 8: first boot and BIOS settings when you build a PC
Connect the monitor to the graphics card, not the motherboard. Power on. Your first boot may take a minute while memory trains. In the BIOS, check that the processor, memory and SSD are detected, then enable EXPO or XMP so the memory runs at full speed.
Step 9: install Windows and drivers after you build a PC
Create a Windows installation USB with Microsoft’s Media Creation Tool on another computer, boot from it and follow the prompts. After Windows installs, download the chipset driver from your motherboard maker and the graphics driver from NVIDIA, AMD or Intel. Then run Windows Update.
Cable management tips
Good cable management makes the build look clean and helps airflow. Route the 24-pin and CPU power cables behind the motherboard tray and through the nearest grommet. Bundle front panel and fan cables together with Velcro straps. Leave a little slack so you can disconnect parts later. Taking ten extra minutes here is one of the most satisfying parts of learning how to build a PC.
How to build a PC on a budget
If budget is tight, spend most on the graphics card, choose a sensible six-core processor and buy 16GB to 32GB of memory in two sticks. Do not compromise on the power supply. A clean, simple case with good airflow is fine. Our cheap gaming PC guide explains where to save and where to spend.
Testing your new PC
After installing drivers, check temperatures and stability. Play a demanding game for an hour or run a stress test while watching temperatures in monitoring software. Processors under 85 °C and graphics cards under 80 °C during gaming are healthy for most parts. If anything crashes, re-check memory settings first.
Troubleshooting a first build
If the PC does not start, check the basics: the power supply switch is on, the 24-pin and 8-pin cables are fully seated, memory is clicked in and the monitor is connected to the graphics card. Many motherboards have debug LEDs that show whether the CPU, memory or graphics card is the problem. Most first-build issues are a loose cable.
How to build a PC for sim racing
If you are building for a sim rig, prioritise the graphics card and processor, add 32GB of memory and plenty of SSD space for tracks and cars. Plan enough USB ports for a wheelbase, pedals, shifter and handbrake, or add a powered USB hub. A strong PC keeps your direct drive wheelbase feeling smooth and responsive.
Should you build or buy?
Knowing how to build a PC is a great skill, but building is not always cheaper. Prebuilt systems save time, include a warranty on the whole machine and come tested. If you value your time or want one point of contact for support, a configured system makes sense.
Our picks
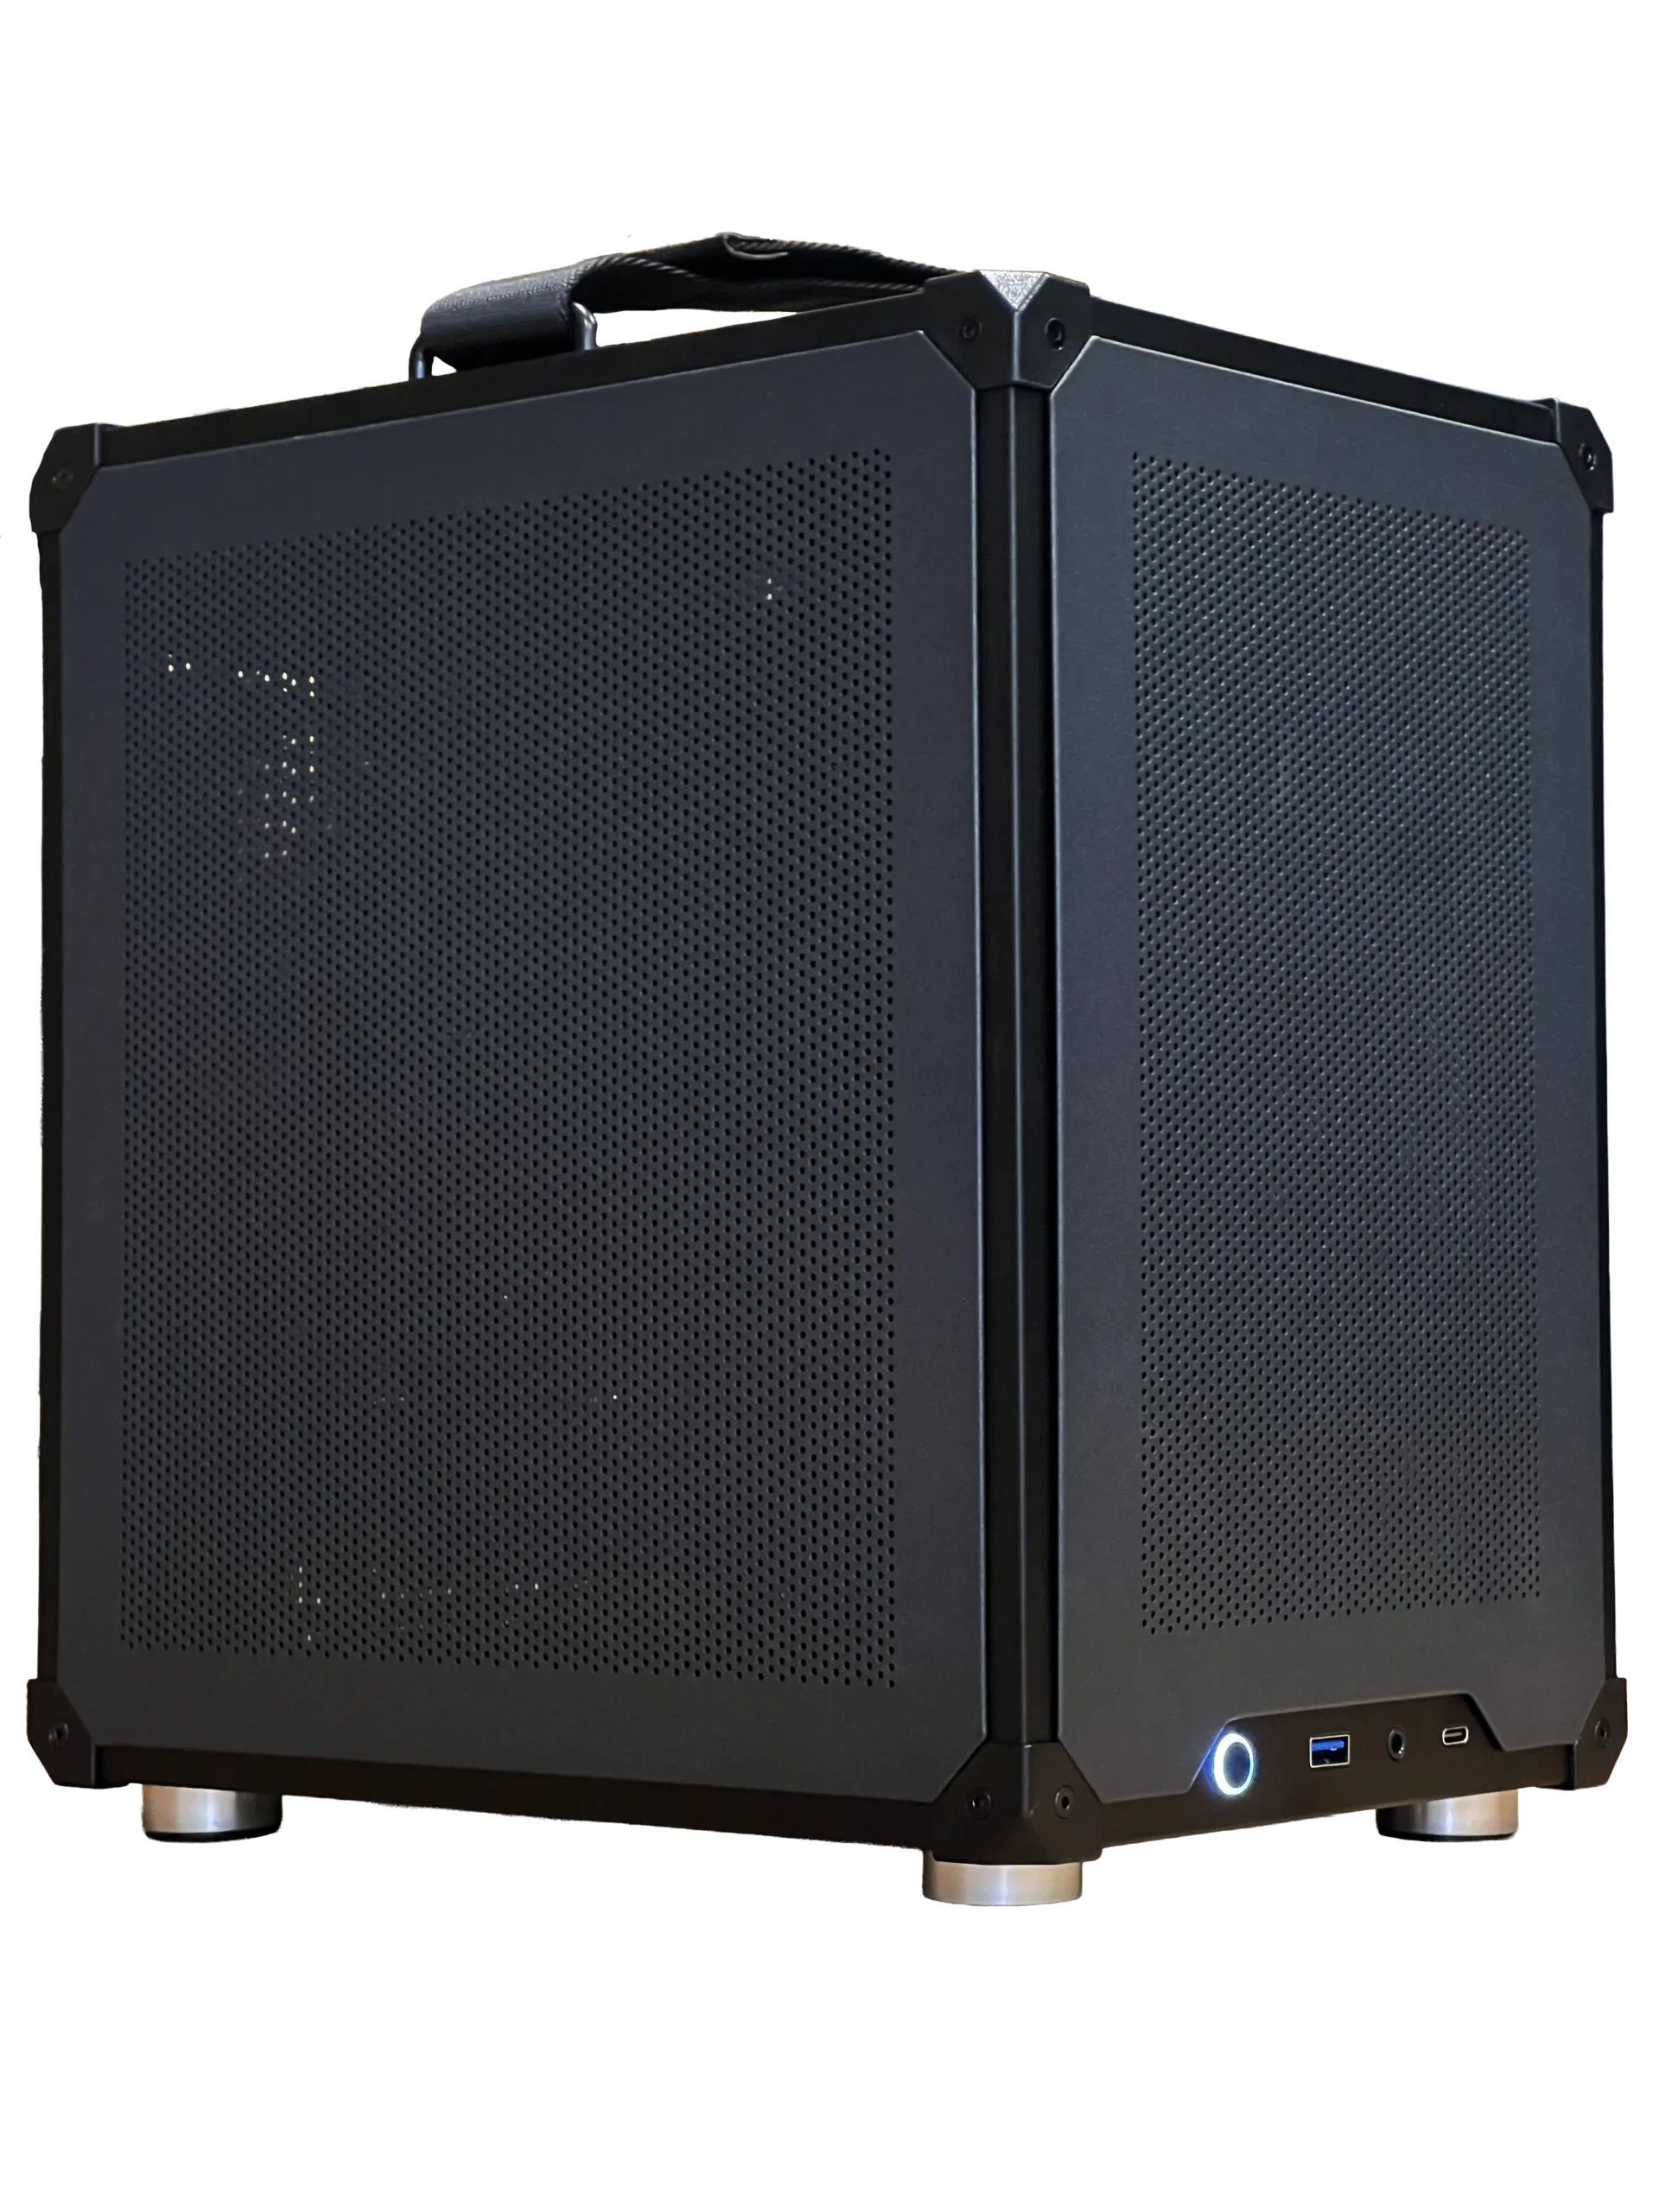
- Ready-to-ship gaming PC: built, tested and ready to play.
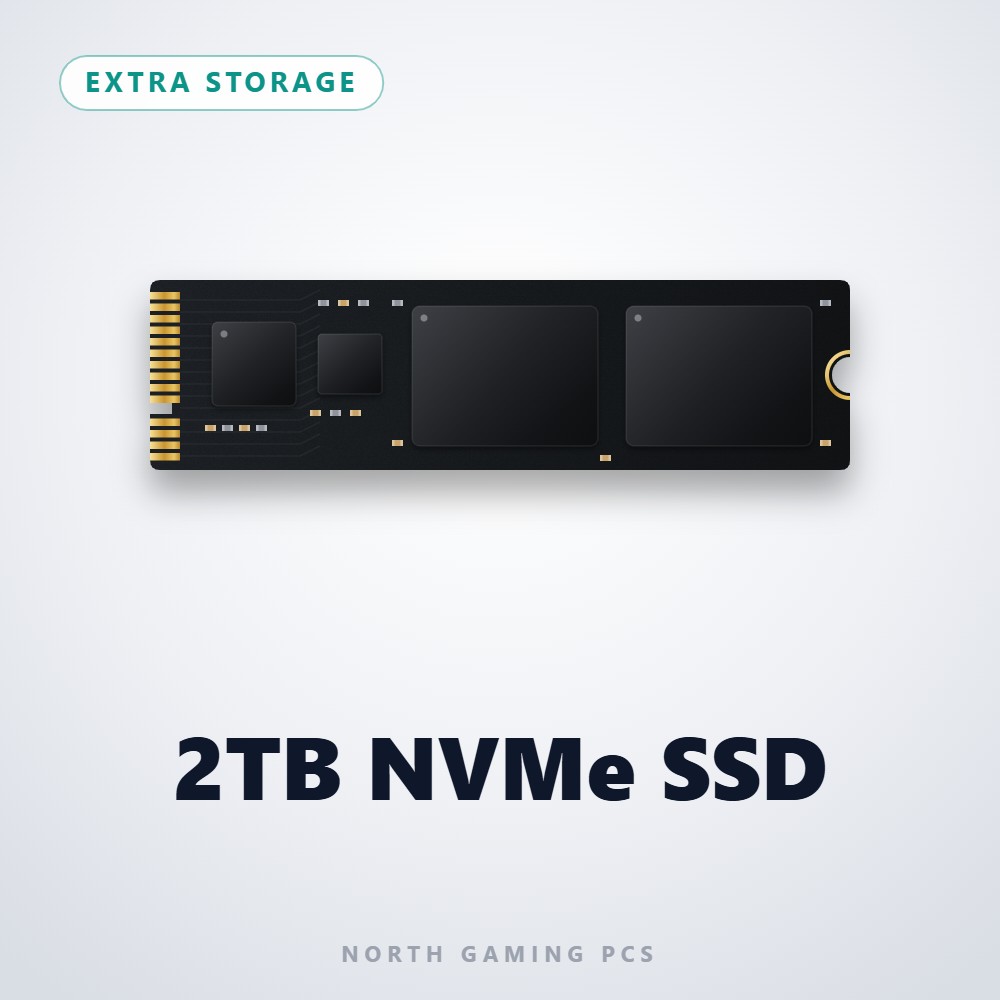
- 2TB NVMe SSD: fast storage for your new build.
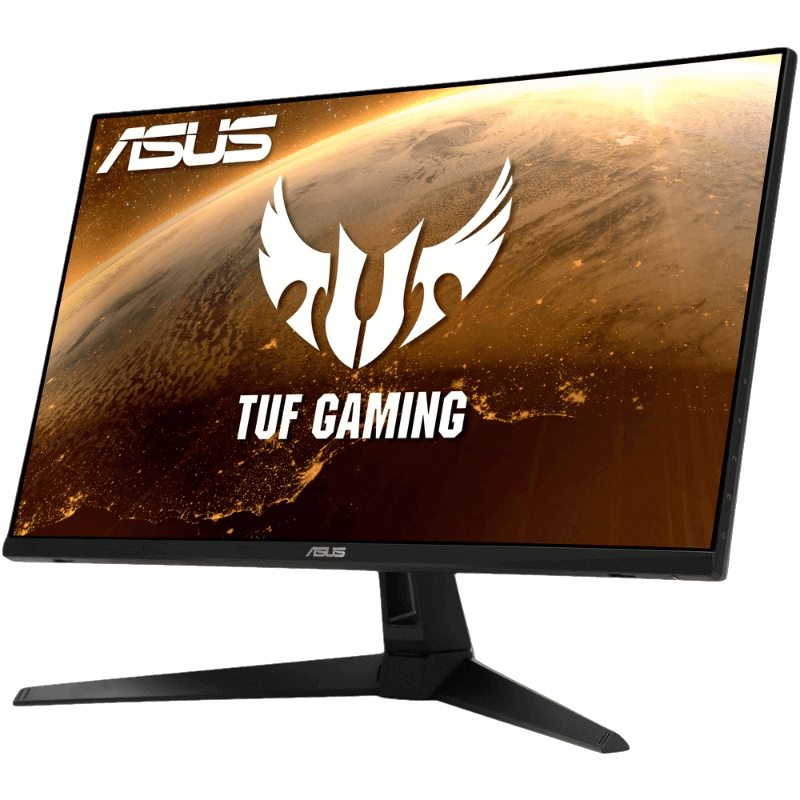
- ASUS TUF 1440p monitor: a great first monitor for a new gaming PC.
How to build a PC FAQ
How long does it take to build a PC?
Two to four hours for a first build, including cable management and installing Windows.
Is it hard to learn how to build a PC?
No. Parts only fit one way, and following the manuals step by step is enough for most people.
What is the most common mistake?
Forgetting the CPU power cable or not pushing memory and power connectors in fully.
Do I need an anti-static wrist strap?
It helps, but touching the bare metal case regularly is usually enough when you learn how to build a PC.
Is it cheaper to build a PC myself?
Sometimes, but once you add Windows, shipping and your time, a prebuilt can cost about the same. Learning how to build a PC is still a great skill for future upgrades.
What should I do with the leftover screws and cables?
Keep them in the motherboard box. You will need them when you add drives or upgrade parts later.
Ready to start?
Now you know how to build a PC: choose compatible parts, assemble them carefully and take your time with cables and settings. If you would rather play than build, configure a gaming PC with us, or contact us with questions.